
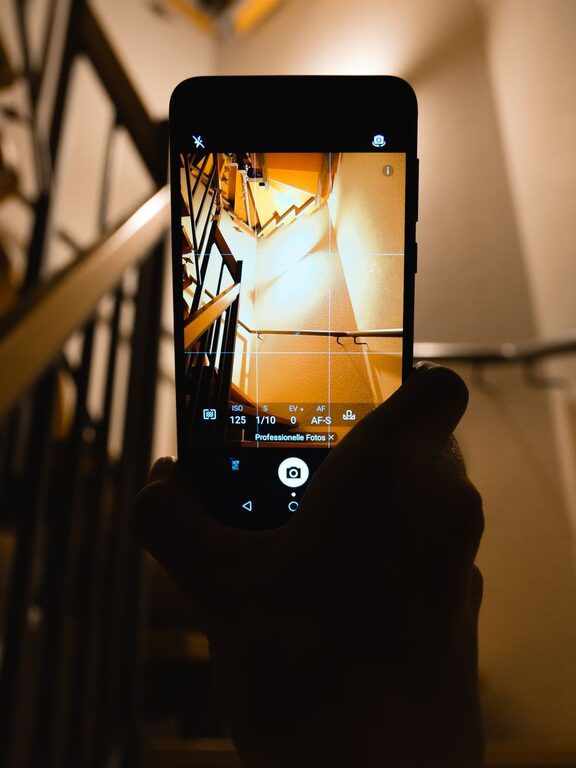
Your phone is a powerful camera that fits in your pocket. With a few simple habits, you can take clearer, brighter, and more interesting photos without buying extra equipment or learning complicated settings.
Good phone photography is less about having the newest device and more about noticing light, choosing a strong composition, and taking a moment to prepare. Use these beginner-friendly tips to improve your everyday photos.
Start With a Clean Camera Lens
Before taking a photo, wipe the camera lens with a soft, clean cloth. Fingerprints, dust, and smudges can make images look hazy or reduce contrast.
A quick wipe can make a noticeable difference, especially when you are photographing bright lights, windows, or outdoor scenes. Avoid using rough materials that could scratch the lens. A clean cotton shirt may work in a pinch, but a microfiber cloth is a better choice.
Pay Attention to Light
Light is one of the most important parts of any photo. It affects brightness, color, texture, and mood.
Whenever possible, use soft, natural light. Window light, open shade, and lightly overcast skies can create even results without harsh shadows.
Try These Simple Lighting Tips
– Place your subject near a window for soft indoor light.
– Avoid standing with a bright window directly behind your subject unless you want a silhouette.
– Use morning or late afternoon light for warmer, more gentle shadows.
– Look for shade when taking outdoor portraits on a sunny day.
– Watch for bright spots on faces or objects that could become overexposed.
Strong midday sunlight can create deep shadows and bright highlights. If you must photograph in harsh light, move your subject into shade or change your angle to reduce the contrast.
Keep the Camera Steady
Small movements can make photos blurry, especially in low light. Hold your phone with both hands and keep your elbows close to your body. You can also lean against a wall, table, or other stable surface.
When pressing the shutter button, use a gentle touch rather than tapping forcefully. Some phones allow you to use the volume button as a shutter, which can make it easier to take a steady photo.
For important shots, take several images. Even experienced photographers capture multiple versions because small changes in expression, movement, or focus can affect the result.
Tap to Focus
Your phone usually focuses automatically, but it may not choose the most important part of the scene. Tap the screen on the subject you want to appear sharp.
This is especially useful when:
– Photographing a person in front of a busy background
– Taking close-up photos of flowers, food, or objects
– Capturing a subject through a window
– Photographing scenes with several objects at different distances
Many phones also let you adjust brightness after tapping. Look for a sun icon or slide your finger up and down on the screen to make the image lighter or darker.
Compose With Care
Composition is the way elements are arranged within the frame. A well-composed photo guides the viewer’s attention and makes the image feel balanced.
Use the Rule of Thirds
Most phone camera apps include a grid option. Turn it on in the camera settings and use it as a guide.
The rule of thirds divides the frame into nine sections. Place important subjects along the lines or at the points where the lines meet. For example, you might place a person slightly to one side rather than directly in the center.
This is not a strict rule, but it is a useful starting point for beginners.
Look for Leading Lines
Lines can guide the viewer’s eyes toward your subject. Roads, paths, fences, railings, bridges, and building edges can all create leading lines.
Before taking a photo, look around the scene and notice where lines point. Try positioning yourself so they lead toward the main subject.
Leave Some Space
If a person or moving subject is looking or traveling in a particular direction, leave space in front of them. This often makes the image feel more natural.
For example, if someone is walking toward the right side of the frame, leave more open space on the right. This gives the viewer a sense of movement and direction.
Change Your Perspective
Many phone photos are taken from the same standing position. Changing your viewpoint can make an ordinary subject more interesting.
Try taking photos:
– From a lower angle
– From above
– At the subject’s eye level
– From the side
– Through a doorway, window, or natural frame
– Close to the ground
Move your feet instead of relying only on digital zoom. Walking closer often produces better detail and image quality than zooming in on the screen.
Avoid Excessive Digital Zoom
Digital zoom enlarges part of the image, which can make it look soft or pixelated. If possible, move closer to your subject or use your phone’s optical zoom lens if it has one.
When moving closer is not practical, take the photo from a wider view and crop it later. This gives you more control and may preserve better quality than using heavy digital zoom.
Use Portrait Mode Thoughtfully
Portrait mode can create a blurred background that helps separate a subject from its surroundings. It works well for people, pets, and some objects.
However, the effect is not always perfect. The phone may blur parts of hair, hands, glasses, or other edges. Check the photo before moving on, and take a regular photo as a backup.
Portrait mode usually works best when:
– The subject is a short distance in front of the background
– The scene has good lighting
– The subject has clear edges
– The background is not too similar in color to the subject
Take Advantage of HDR
HDR, or high dynamic range, helps balance very bright and dark parts of a scene. It can be useful for landscapes, buildings, and scenes with a bright sky.
Many phones automatically use HDR when needed. If your camera offers an HDR setting, try comparing photos with it on and off. The best option depends on the scene.
Avoid moving the phone or subject too much while an HDR photo is being captured. Movement can sometimes create unusual edges or ghost-like details.
Keep Backgrounds Simple
A distracting background can take attention away from the subject. Before pressing the shutter, scan the edges of the frame for clutter, bright spots, poles, branches, or objects that appear to grow out of someone’s head.
You can simplify the background by:
– Moving a few steps
– Changing the camera angle
– Getting closer to the subject
– Using portrait mode
– Placing the subject against a plain wall
– Waiting for people or vehicles to move
A simple background does not have to be empty. It just needs to support the main subject rather than compete with it.
Edit With a Light Touch
Editing can improve a good photo, but it cannot fully fix a poorly focused or badly composed image. Start with small adjustments.
Useful edits include:
– Cropping to improve composition
– Straightening tilted horizons
– Adjusting brightness
– Increasing contrast slightly
– Correcting overly warm or cool colors
– Reducing highlights in bright areas
– Adding a small amount of sharpness
Avoid making every setting stronger. Very high saturation, contrast, or sharpness can make photos look unnatural. Save the original image when possible so you can return to it later.
Practice With Everyday Subjects
You do not need an exciting destination to improve your skills. Practice with objects and scenes around your home or neighborhood.
Try photographing the same subject in different ways:
- Take a photo from far away.
- Move closer and fill the frame.
- Change the angle.
- Photograph it in soft light and bright light.
- Try a horizontal and vertical composition.
- Compare the results and note what works best.
Reviewing your photos is one of the fastest ways to improve. Ask yourself what first catches your attention, whether the subject is clear, and whether the lighting supports the scene.
Build a Simple Photo Habit
Before taking a photo, pause for a few seconds and check five things:
– Is the lens clean?
– Is the main subject clear?
– Is the light helpful?
– Is the phone steady?
– Is there a distracting element in the frame?
This quick checklist can prevent many common mistakes. Over time, these steps will become automatic.
The best phone photos often come from patience and curiosity. Clean your lens, look for good light, steady your hands, and experiment with composition. With regular practice, you will start seeing more opportunities for strong photos in ordinary moments.
About the Author